ApliCAD UpdateBIM has a special work for materials used in finishes, like ceramic tiles, marble, stones, and others.
For better performance and a realistic view, you need to create the images and bump mapping with different pieces for more realistic rendering.
Usually, the images are composed for the user in programs like ApliCAD Interior, or another image program.
The image file and bump image will be in a folder inside the folder of the .rvt file.
Revit Interface
In ApliCAD UpdateBIM, you can create a material for use in walls, floors, and roofs for use in the finished layer, usually, these materials are ceramic tiles, marbles, stones, and other elements with a thickness and pattern using pieces with X and Y sizes (2D).
This is a special object with parameters, images, and other specifications. You need to follow a few short rules for the system to behave properly.
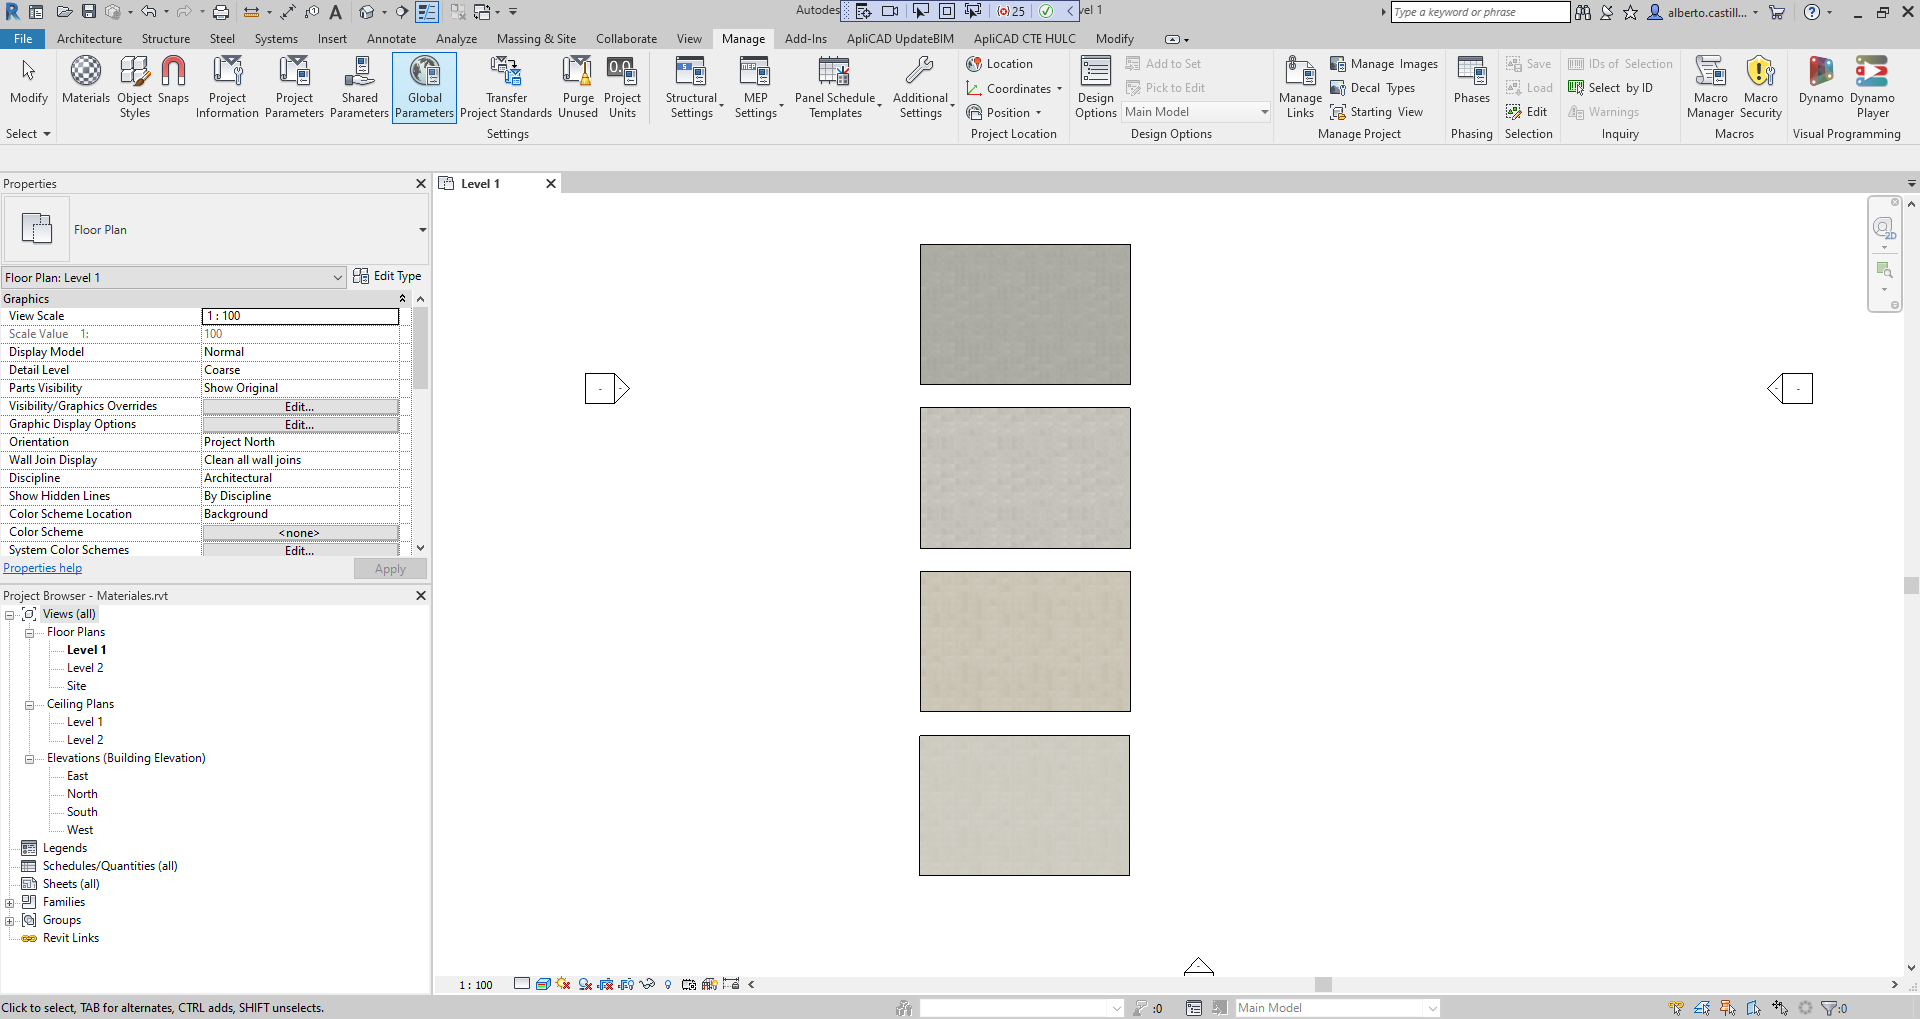
1.- Create a new rvt file with the system construction, for example, we create 4 floors, because we want to create a new material with 4 same sizes and different finishes, for example, ceramic tile in 30x60 cm. and finishes: grey, pearl, sand, and white.
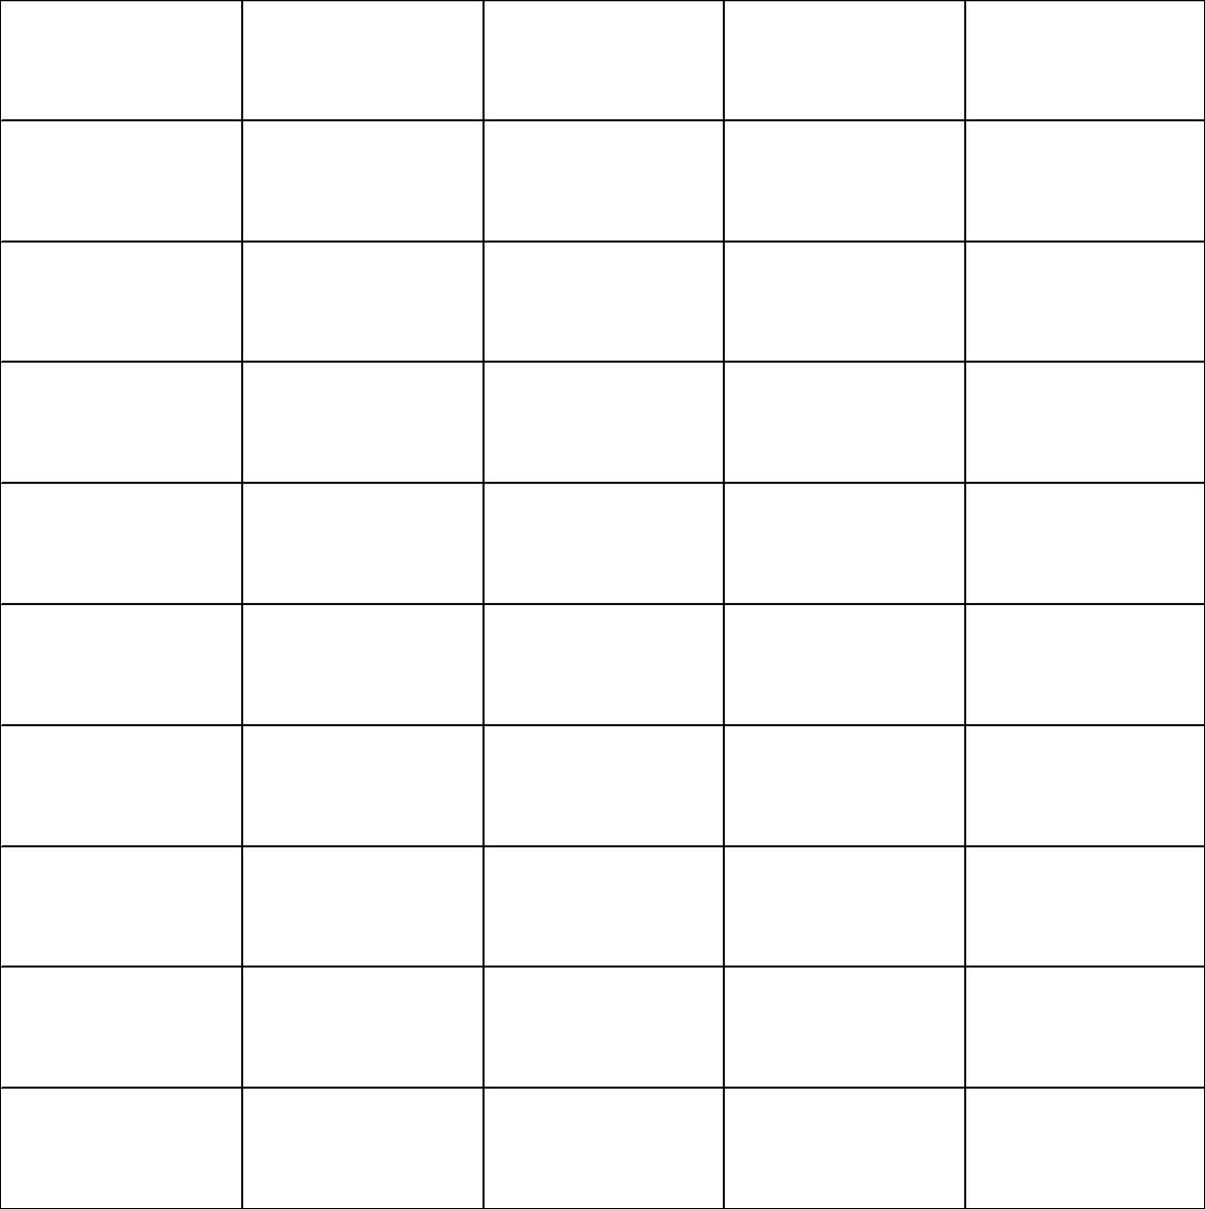
2.- Create the materials in Revit, you need images like this, including the bump mapping image.
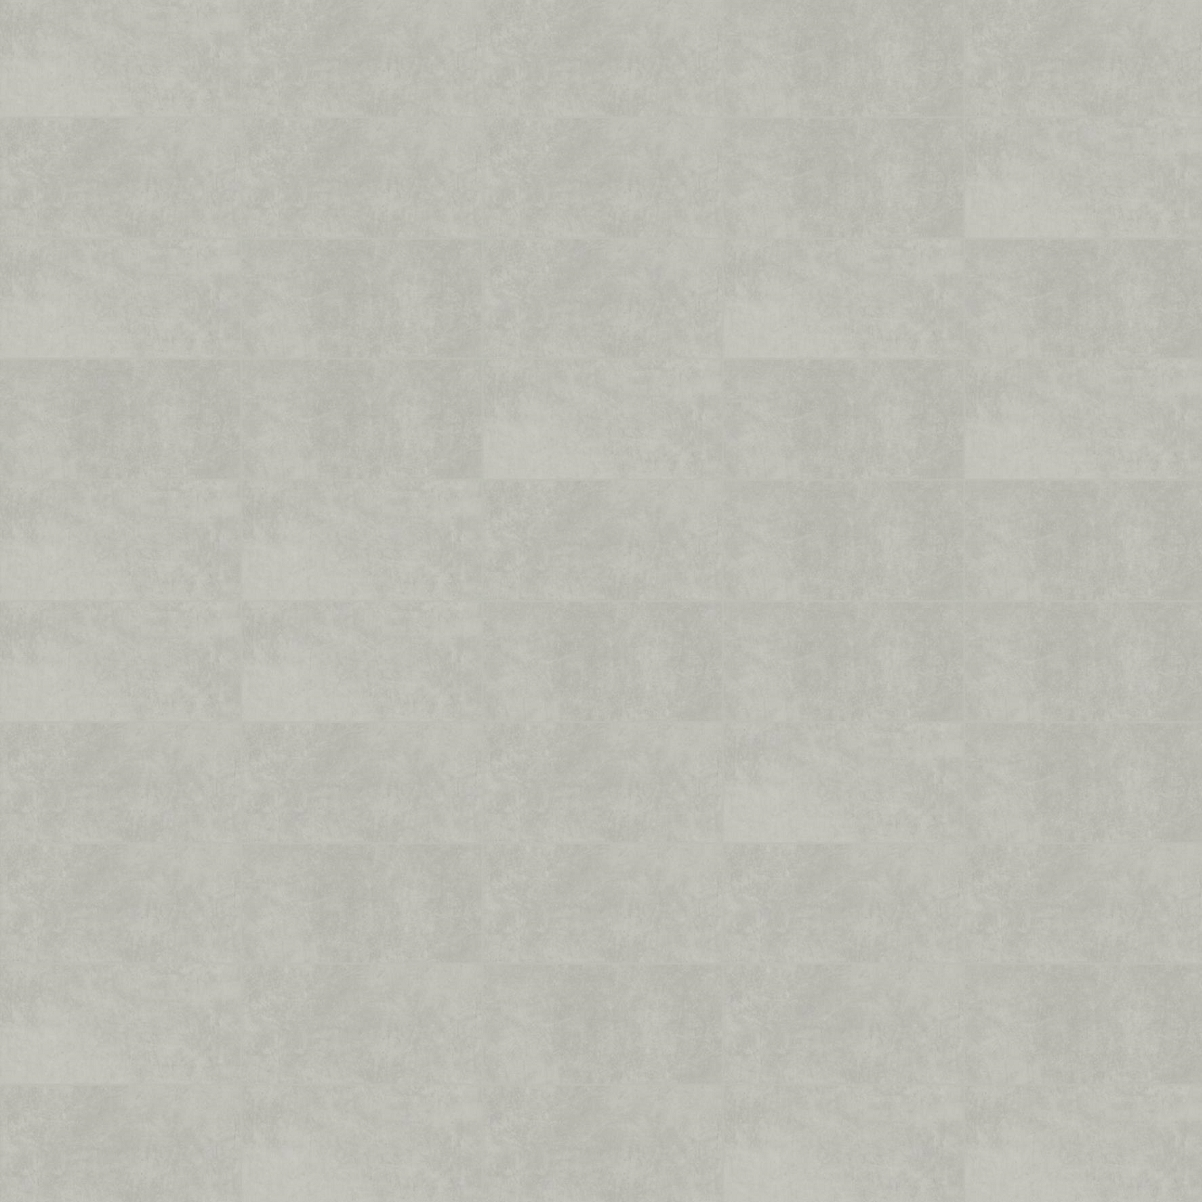
The name of the bump mapping file will be the same as the main image, including "_bump" at the end.
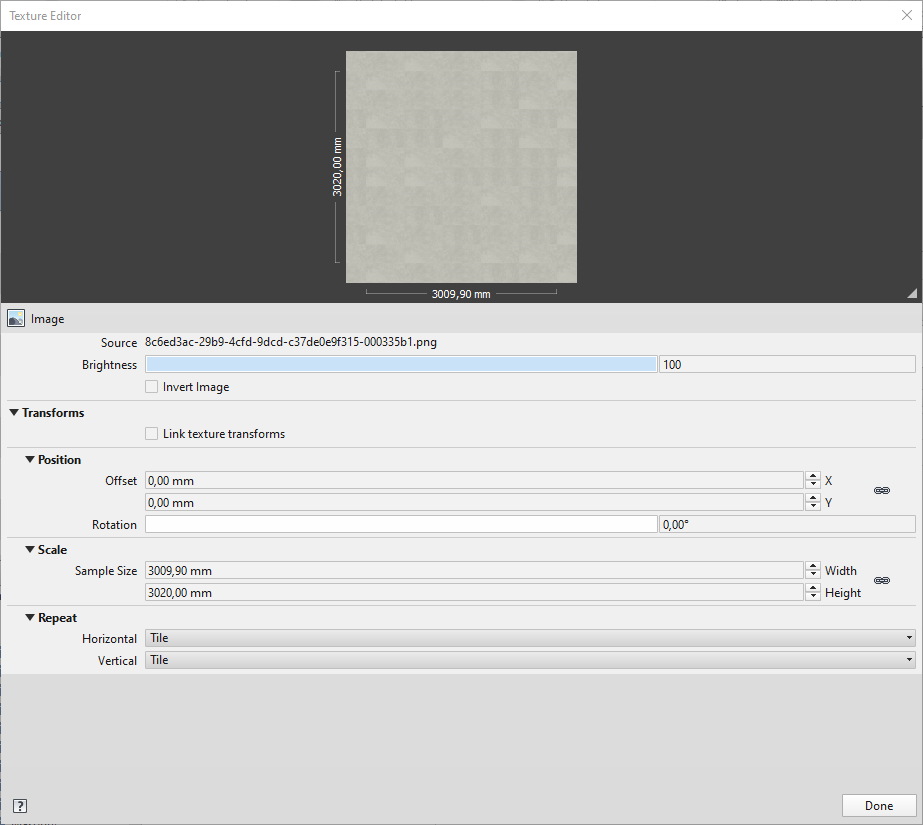
In Revit, you add these images and create the different materials.
The bump mapping will be the same size and position:
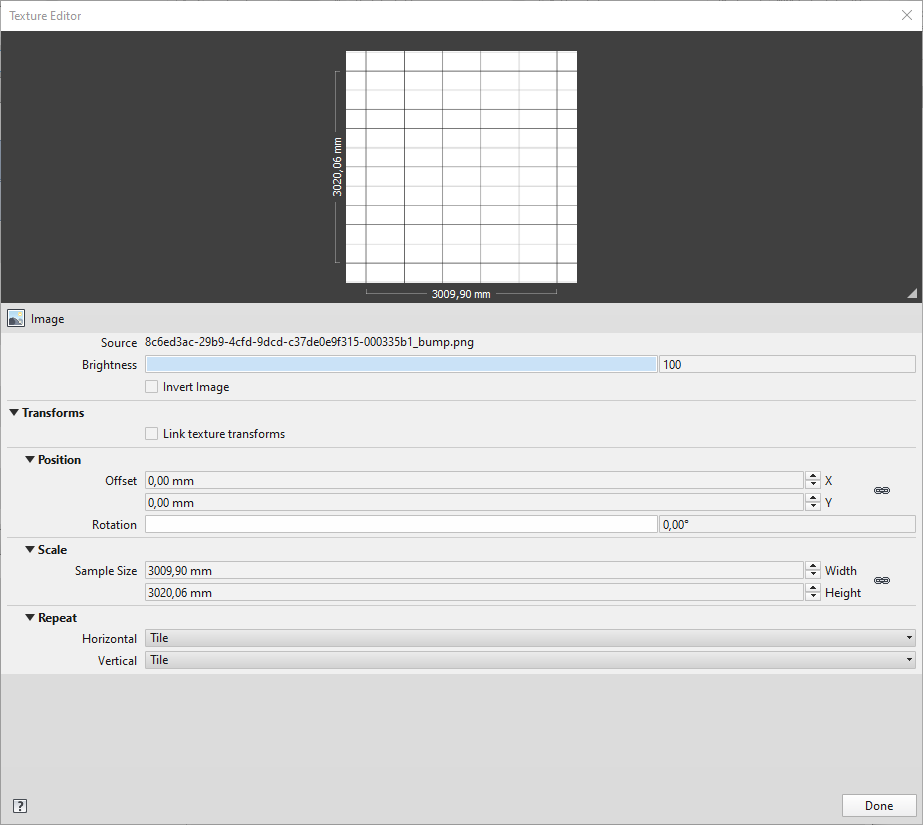
This process is for all the materials:
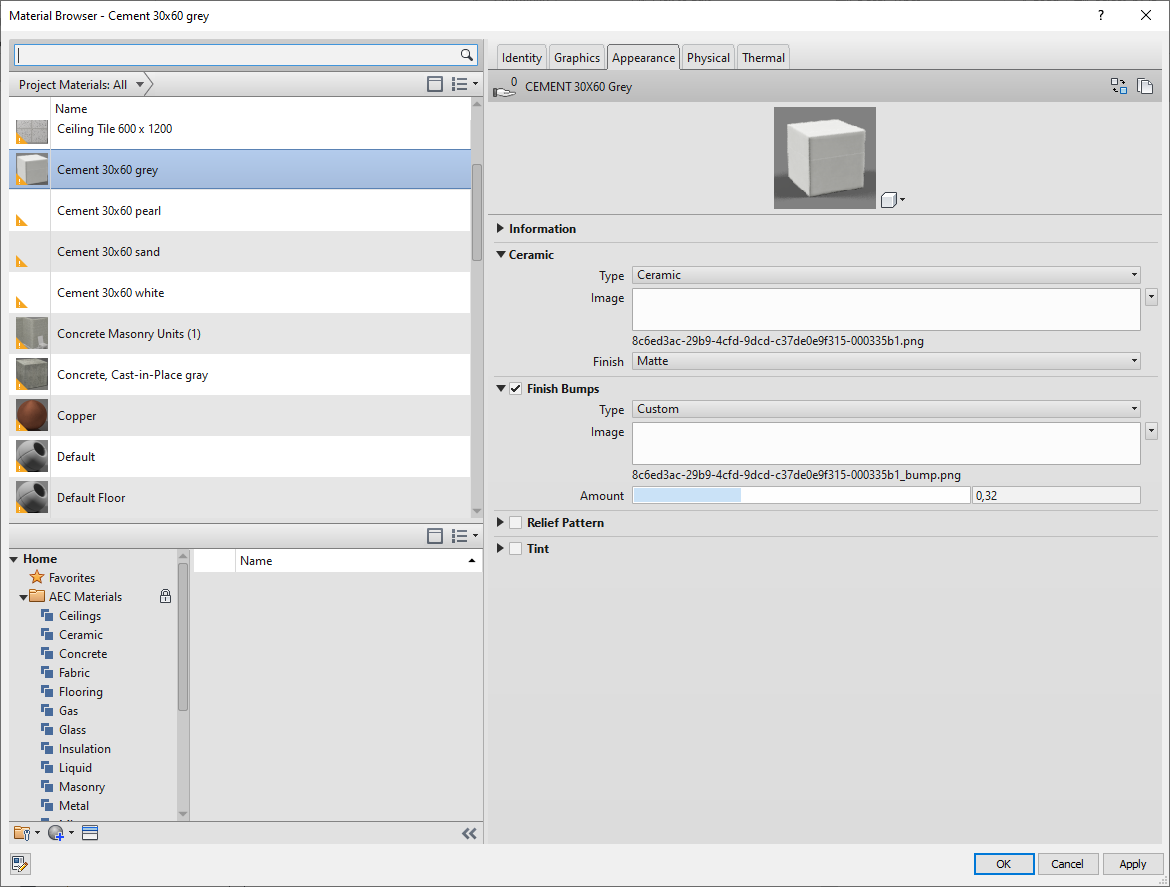
Put the materials on each floor
Before saving, we recommend erasing all materials not used, and leaving only your materials, go to the materials Revit command:
IMPORTANT: use the Revit command to purge unused before you save the file.
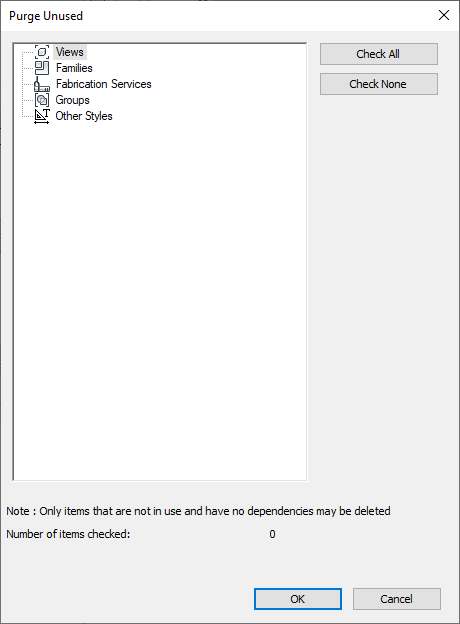
When the file only has the floor and material, you can save it in your work folder for use in the next step to create y Add new material.