You can add system families using .rvt files.
For better performance, we recommend using only one type of family, for example, walls, floors, roofs, etc. in each .rvt file.
Is very important that the files come free of any objects not necessary to insert into the project.
We recommend inserting all types you want to place in UpdateBIM and then doing a "Purge unused" in Revit before saving the file.

Revit Interface
One of the most important objects in Revit is the system families, including walls, floors, roofs, stairs, and other components for the construction of a building.
In ApliCAD UpdateBIM, you can add this type of family, using .rvt files.

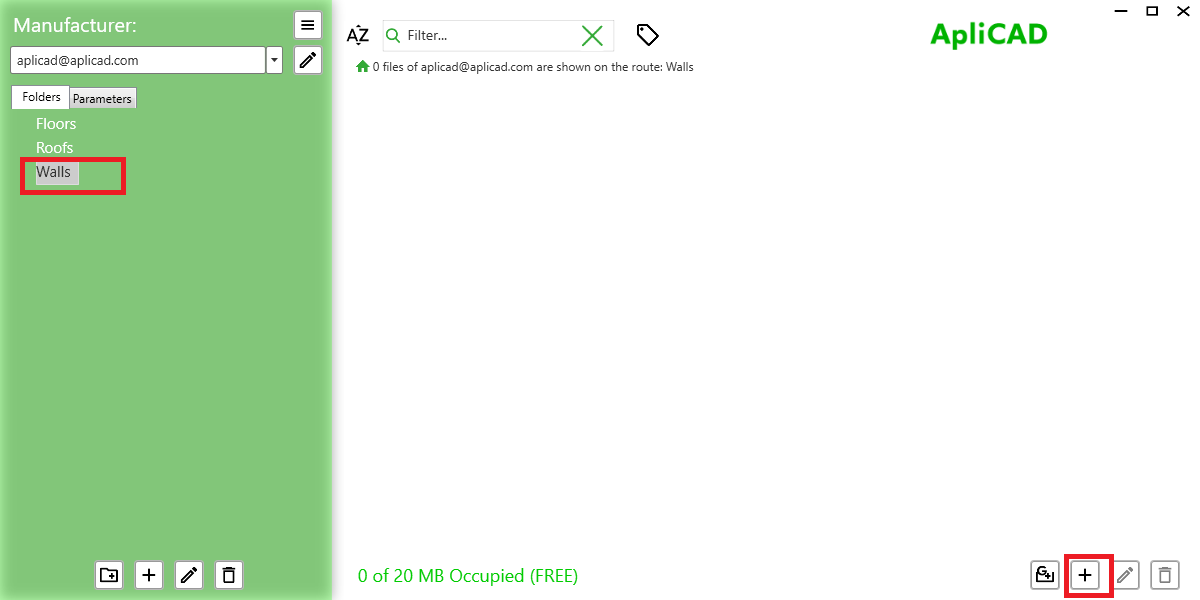
To add a new system family, first, you need to select the correct folder when you want the object (in this case, folder Walls).
You will click on the button with the sign "+", and you need to search in the folders to get the correct file to load.

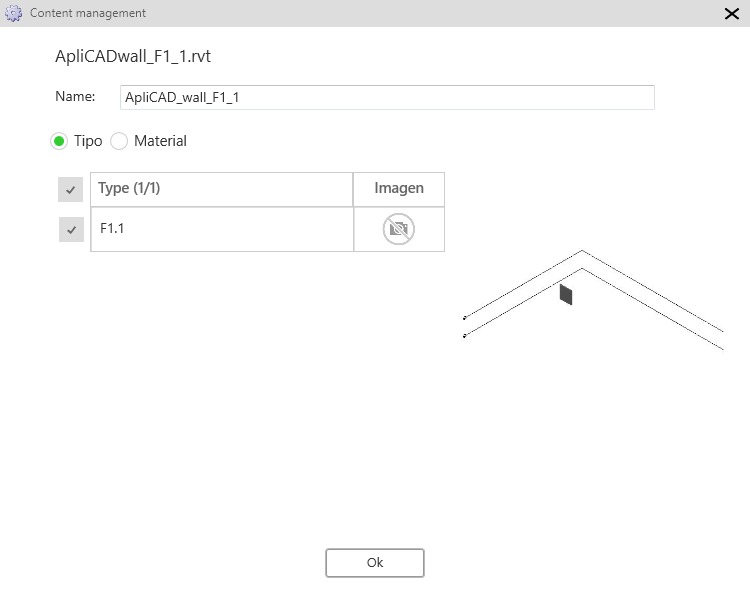
In this case, the file has only one type, but the program can have more types, and you can select which type want to load into the database.
By default the program load Types, if the file contains materials, you can change it.
In this interface, you can change the images for family and types and you can change the name to show you in the interface. This function is better realized using the web interface.
IMPORTANT: The name of the file will be unique for one manufacturer. You can load the same file in different folders, but not possible to have the same name with other information.
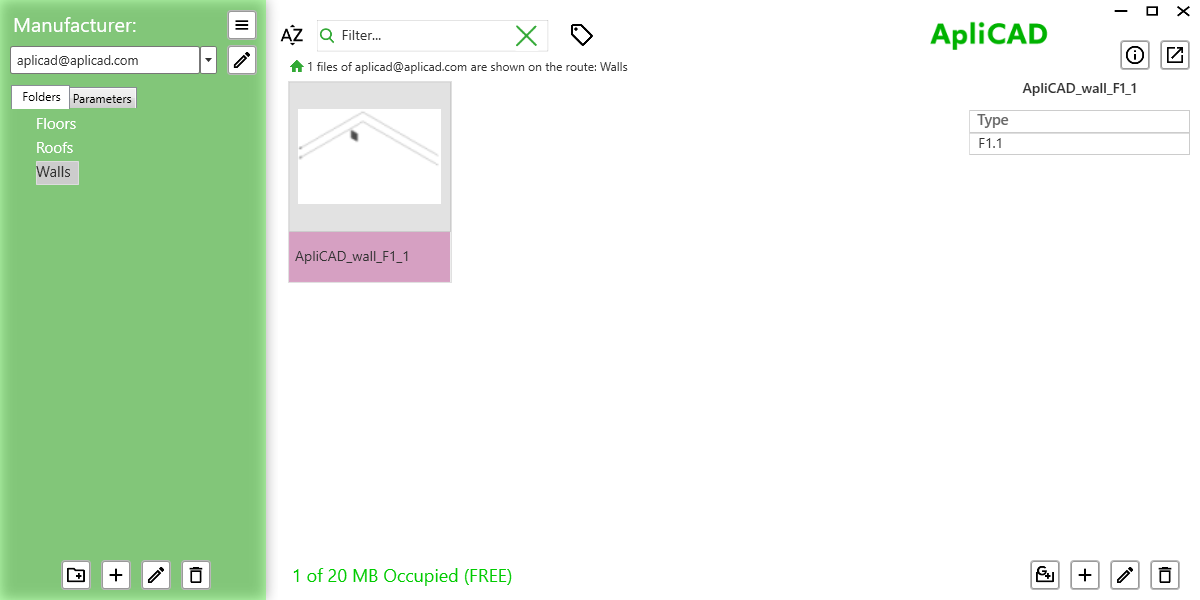
The result when the load is complete:

At this moment, you can try insertion this new object from the Content manager, if the insertion is correct, you can publish it, and the object is available for all users with access to this catalog.
The object with a state like "Unpublish", has the color band in magenta, like the image above, and is not available from Cloud Access while the status is not published.
In the case of system families, the program launch the Revit command for this type of object, in this case, will launch the walls command.
WEB Interface for completing the process
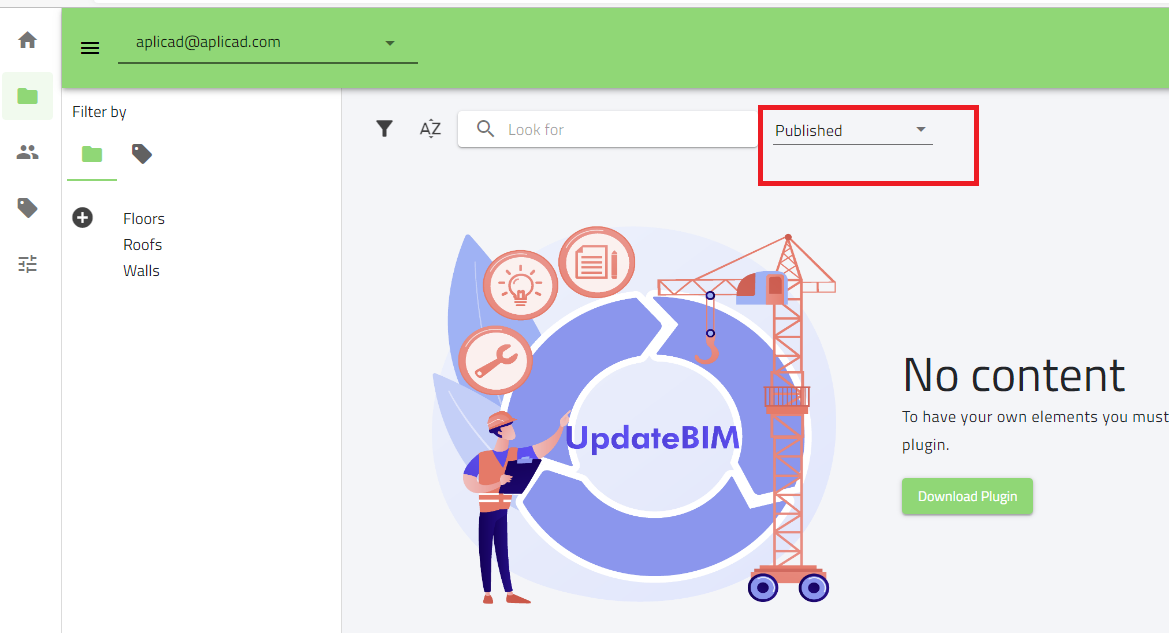
When you access the web interface, you see the next screen:
You need, to change to show you the unpublished objects,
When you change, the system shows you the last object added to this catalog in the folder Walls.
If you put the mouse over the object card and click the right button of the mouse, you can see different options, including the publishing option.
If you publish the object and open Revit, you can see in the cloud access, the new object for all users of your catalog.
On the left side, only show the folders with objects, in this case only Walls is added to this catalog.