Insert object in actual Revit project.
You can see information about the object before insert.
You can access additional documents included in the object.
Insert family system like wall, floor, or roof, selecting the type, and start automatically the Revit command.
Revit
When you selected a family for insert, you can use the button in the upper right (see the red square in the next image) to expand for more information.
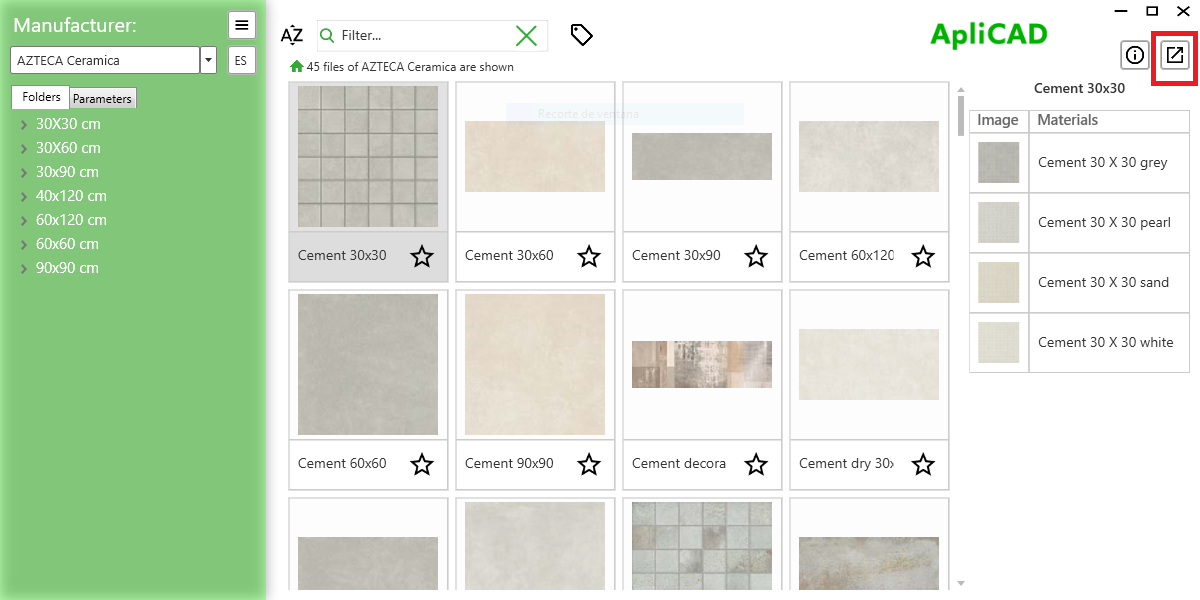
This button opens a new form with the types and associated documents organized in different tabs.
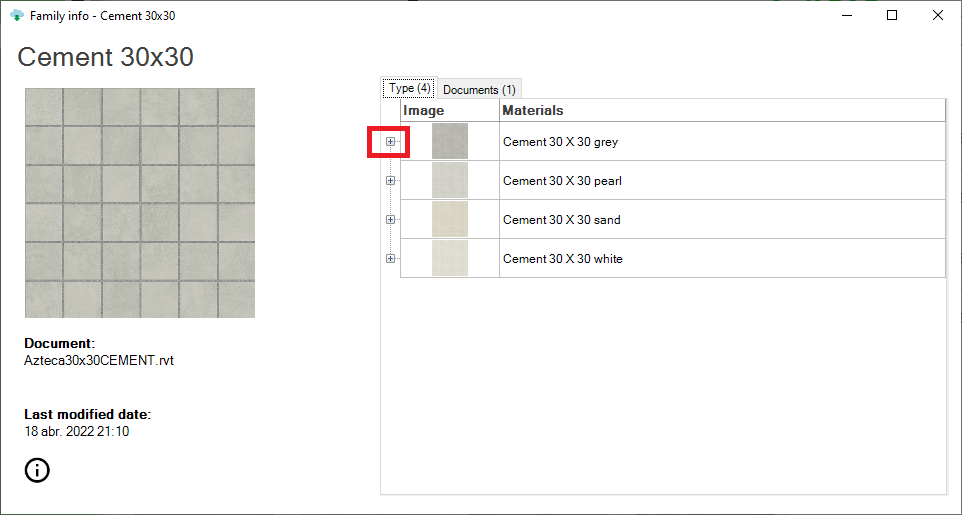
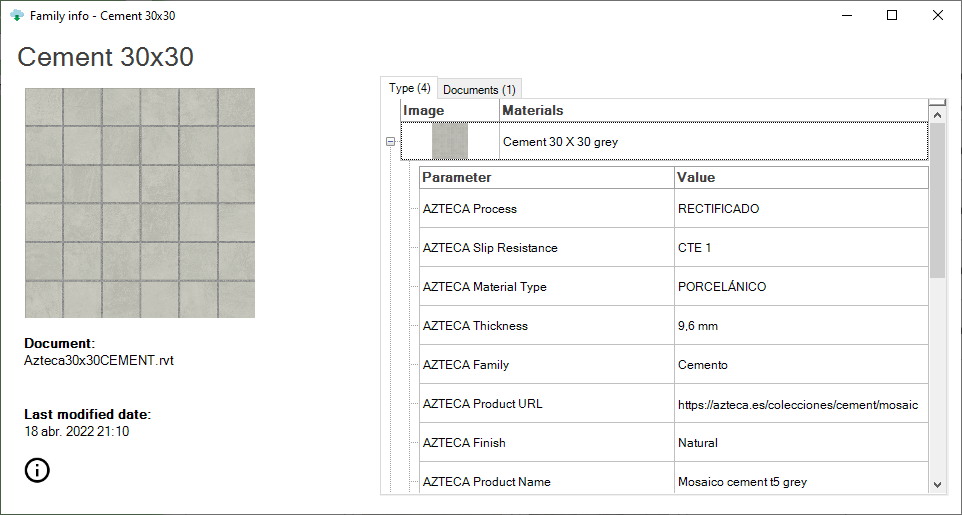
You can open the selected type and see the parameters and your value for this type.
You can insert the object in the current project with a click on the row of the type selected.
If you click on the Documents tab
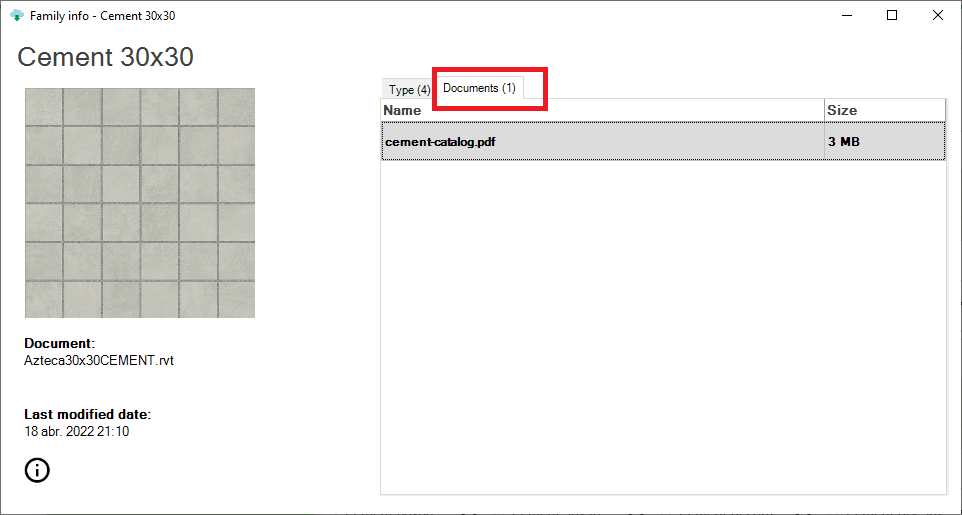
Additionally, you can see the association's documents for this family and you can open them with a double-click.
Any kind of document can be associated, and your computer can open it if have the application. for example, you can associate an AutoCAD .Dwg file, and if you have AutoCAD installed on your computer, the program will open the file.
The process for inserting depends of the type of objects:
- for the component family, the program downloads from the cloud the .rfa file and asks the user for the insertion point, the same process as when using the insert component command of Revit.
- for system families, the program launches the Revit command to place the type selected. If the selected object is a type of wall, launch place a wall with the type selected.
- for special materials in UpdateBIM, the program ask about the objects when this type of object is supported, actually used walls, floors, or roofs.


